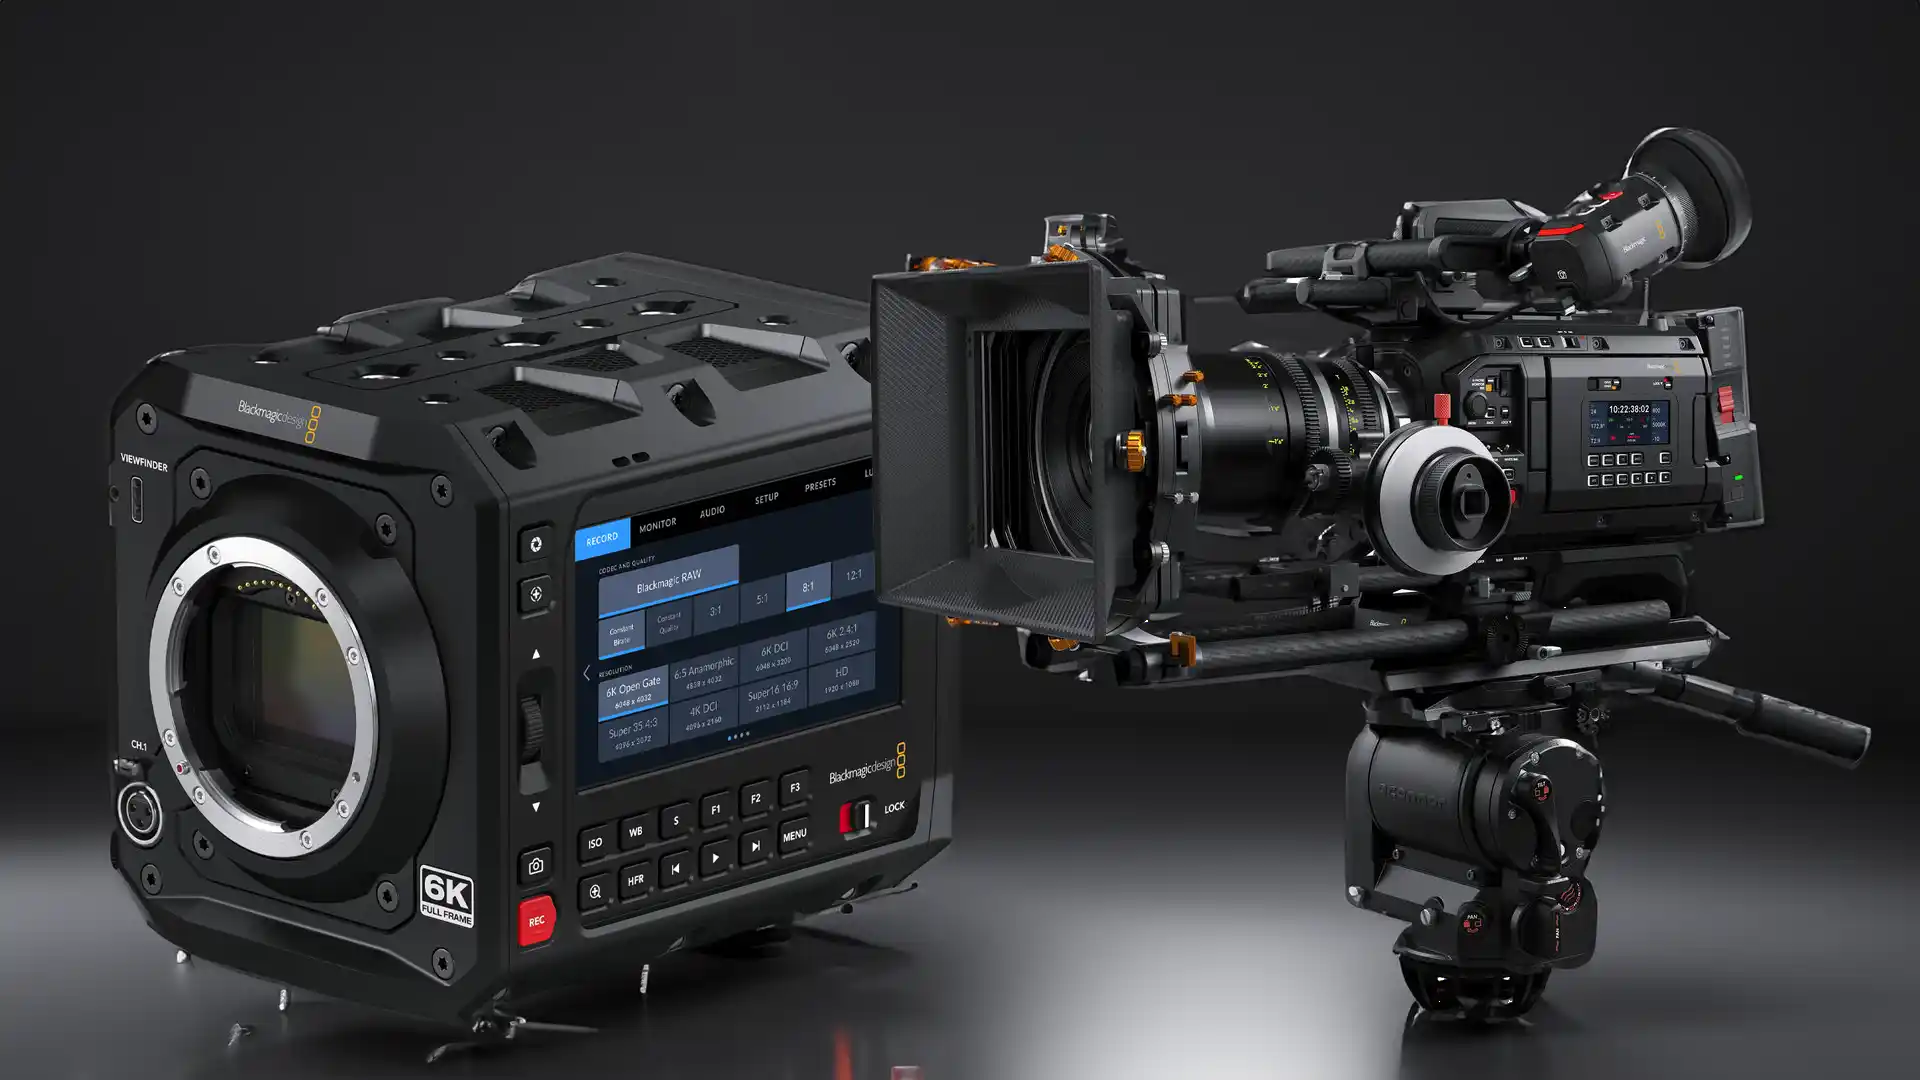


Within the effect controls of your NLE Software, footage shot on your RED Cinema Cameras will have a list of parameters that can easily be modified. I’ll be covering both Adobe Premiere Pro and DaVinci Resolve for these purposes, along with the official REDCINE-X Pro Software for browsing footage.
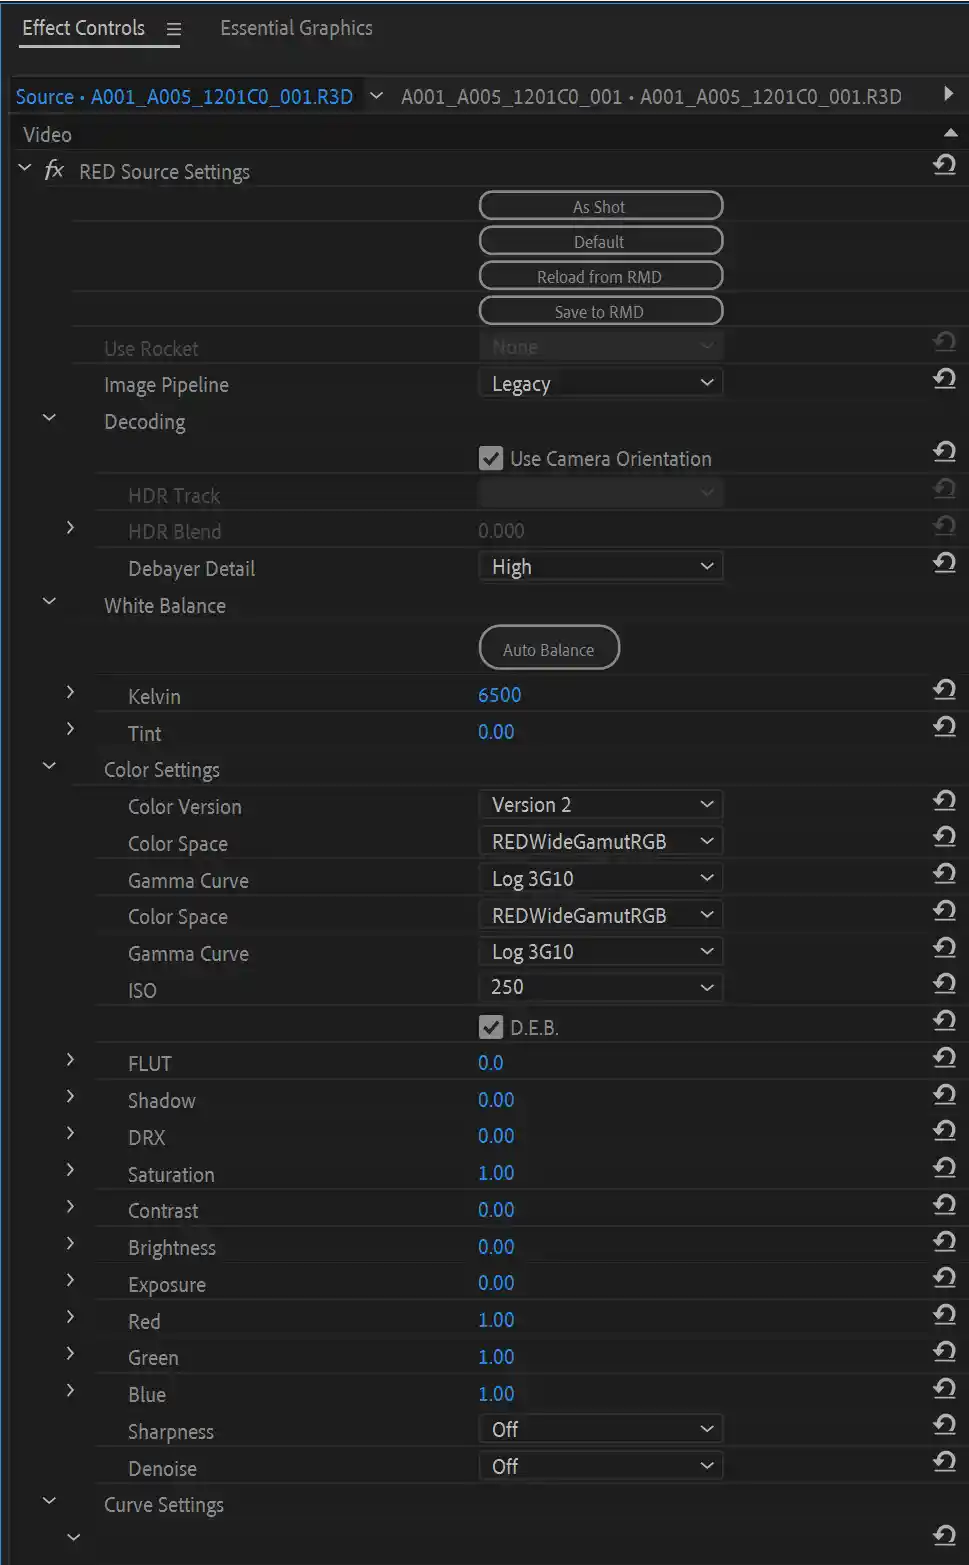
When your Red Cinema Camera Footage is selected inside the project panel or Timeline of your Sequence, navigate to the effect controls window and click on the source tab. This will display a list of properties for the video file that can be modified. (Keep in mind these changes are global within the entire Premiere Pro Project.)
Be sure to click the drop-down tab next to “Image Pipeline” and change it from IPP2 to Legacy for more control over the look of your footage.
The dropdown tab next to Color Space will be the most important setting to modify. There’s a beefy list of profiles to choose from, but I would recommend starting with Rec. 709. This will add a good deal of saturation to your image.
Next, if the image lacks contrast, try changing the Gamma Curve to one of the Red Gamma profiles and see which one works best.
From here, you can individually modify a suite of settings to give your Red footage the perfect grade. These include Kelvin Color Temperature, Tint, ISO, Exposure, Shadows, and much more. If lighting is consistent, you can copy the Source Settings from your video file and apply them to the rest of the media in your Timeline or Project panel.
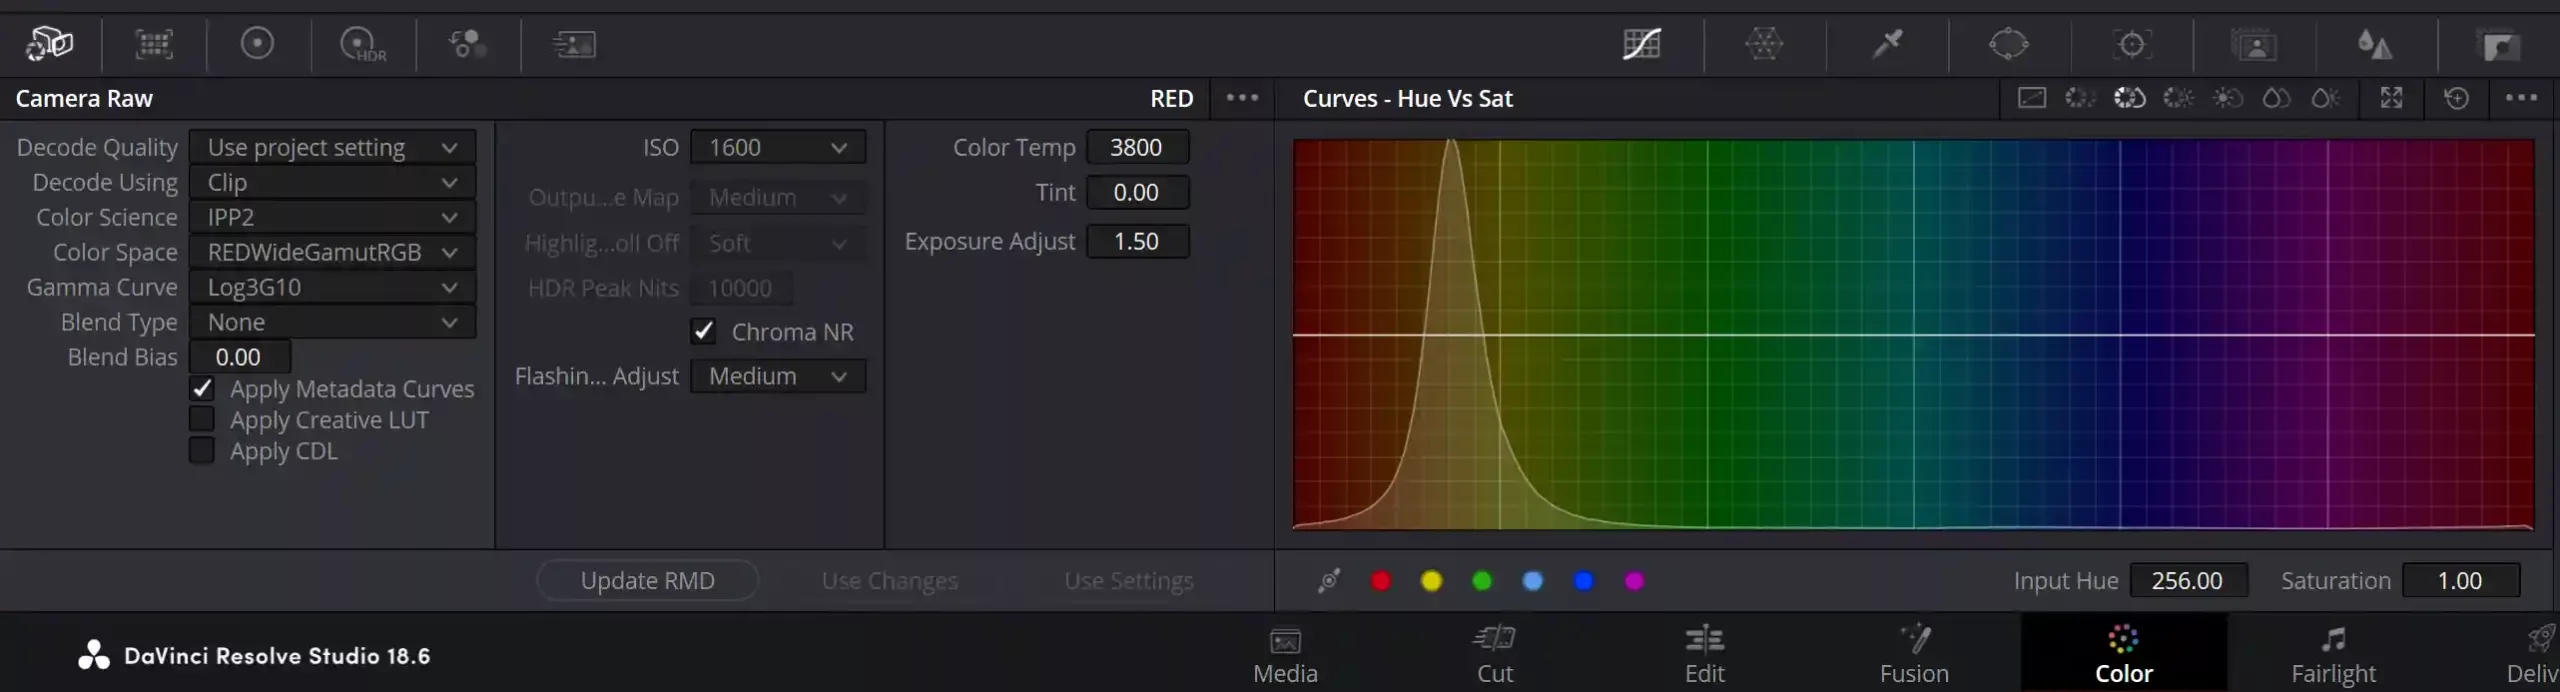
This process is very similar to what we discussed in Adobe Premiere Pro. Simply select your media on the timeline, and Switch the tab hosting your color wheels to the tab on the very left with a small camera icon.
This is called the “Camera Raw” tab. From here, simply click on the “Decode Using” tab and select “Clip”. Now you are free to modify everything from Color Space, Gamma Curve, ISO, etc.
Like with Adobe, I’d recommend starting with Rec. 709 for the Color Space, and Ged Gamma 1 for the Gamma Curve as a starting point.
Utilizing REDCINE-X Pro, you can preview a Rec. 709 Color Output via the file browser and preview tabs. This software is a great way to test different looks, and apply color changes to the clip metadata.

Understanding how Color Spaces and Gamma Curves affect your RED Digital Camera video files will allow you to fully master RAW footage, thus crafting a unique look with insanely flexible parameters.
To preview how RED footage can be used to elevate your work, check out Our Portfolio to view a suite of Professionally shot and edited videos!